Pack Less, Shoot More: A Photographer’s Travel Kit Guide
Move Light, Shoot Big: Why Less Gear Means More Photos
For a long time, I was under the illusion that the secret to great travel photography was… bringing absolutely everything (mind you, for professional gigs that still remains the case). Every lens I owned, every spare battery, every “just in case” gadget that I was sure I might need. I would carefully pack my backpack, pretty much like a boy scout preparing for camp, each item justified by the remote possibility that the one-in-a-million shot might appear. The result was a backpack that could double as a medium-sized mountain, a sore back by day two, and the constant feeling that I was spending more time digging for the right lens than actually taking photos.
Over the years, I’ve learned that packing well matters far more than packing everything. Capability is great, but portability is king. Carry too much, and you’ll walk less, miss fleeting moments (you know I love those), and arrive at locations exhausted before the fun even begins. And let’s be honest: if you’re not enjoying the trip, your photos will feel that way too: stiff, forced, and perhaps a little resentful.
My philosophy now is simple: don’t be a packing mule. Don’t break your back in the name of preparedness. You’re travelling, not relocating your entire studio. This approach works whether you’re hopping on a plane for a city break, driving cross-country for a multi-week adventure, or hiking a single trail. Versatility beats theoretical perfection. If you’re too busy searching for a 1.4 prime at the bottom of your bag to catch a sunset, you’ve already lost. If you're too exhausted to walk that last kilometer to the viewpoint, the gear is useless. Here is how I stripped back my kit without losing my mind (or my shots).
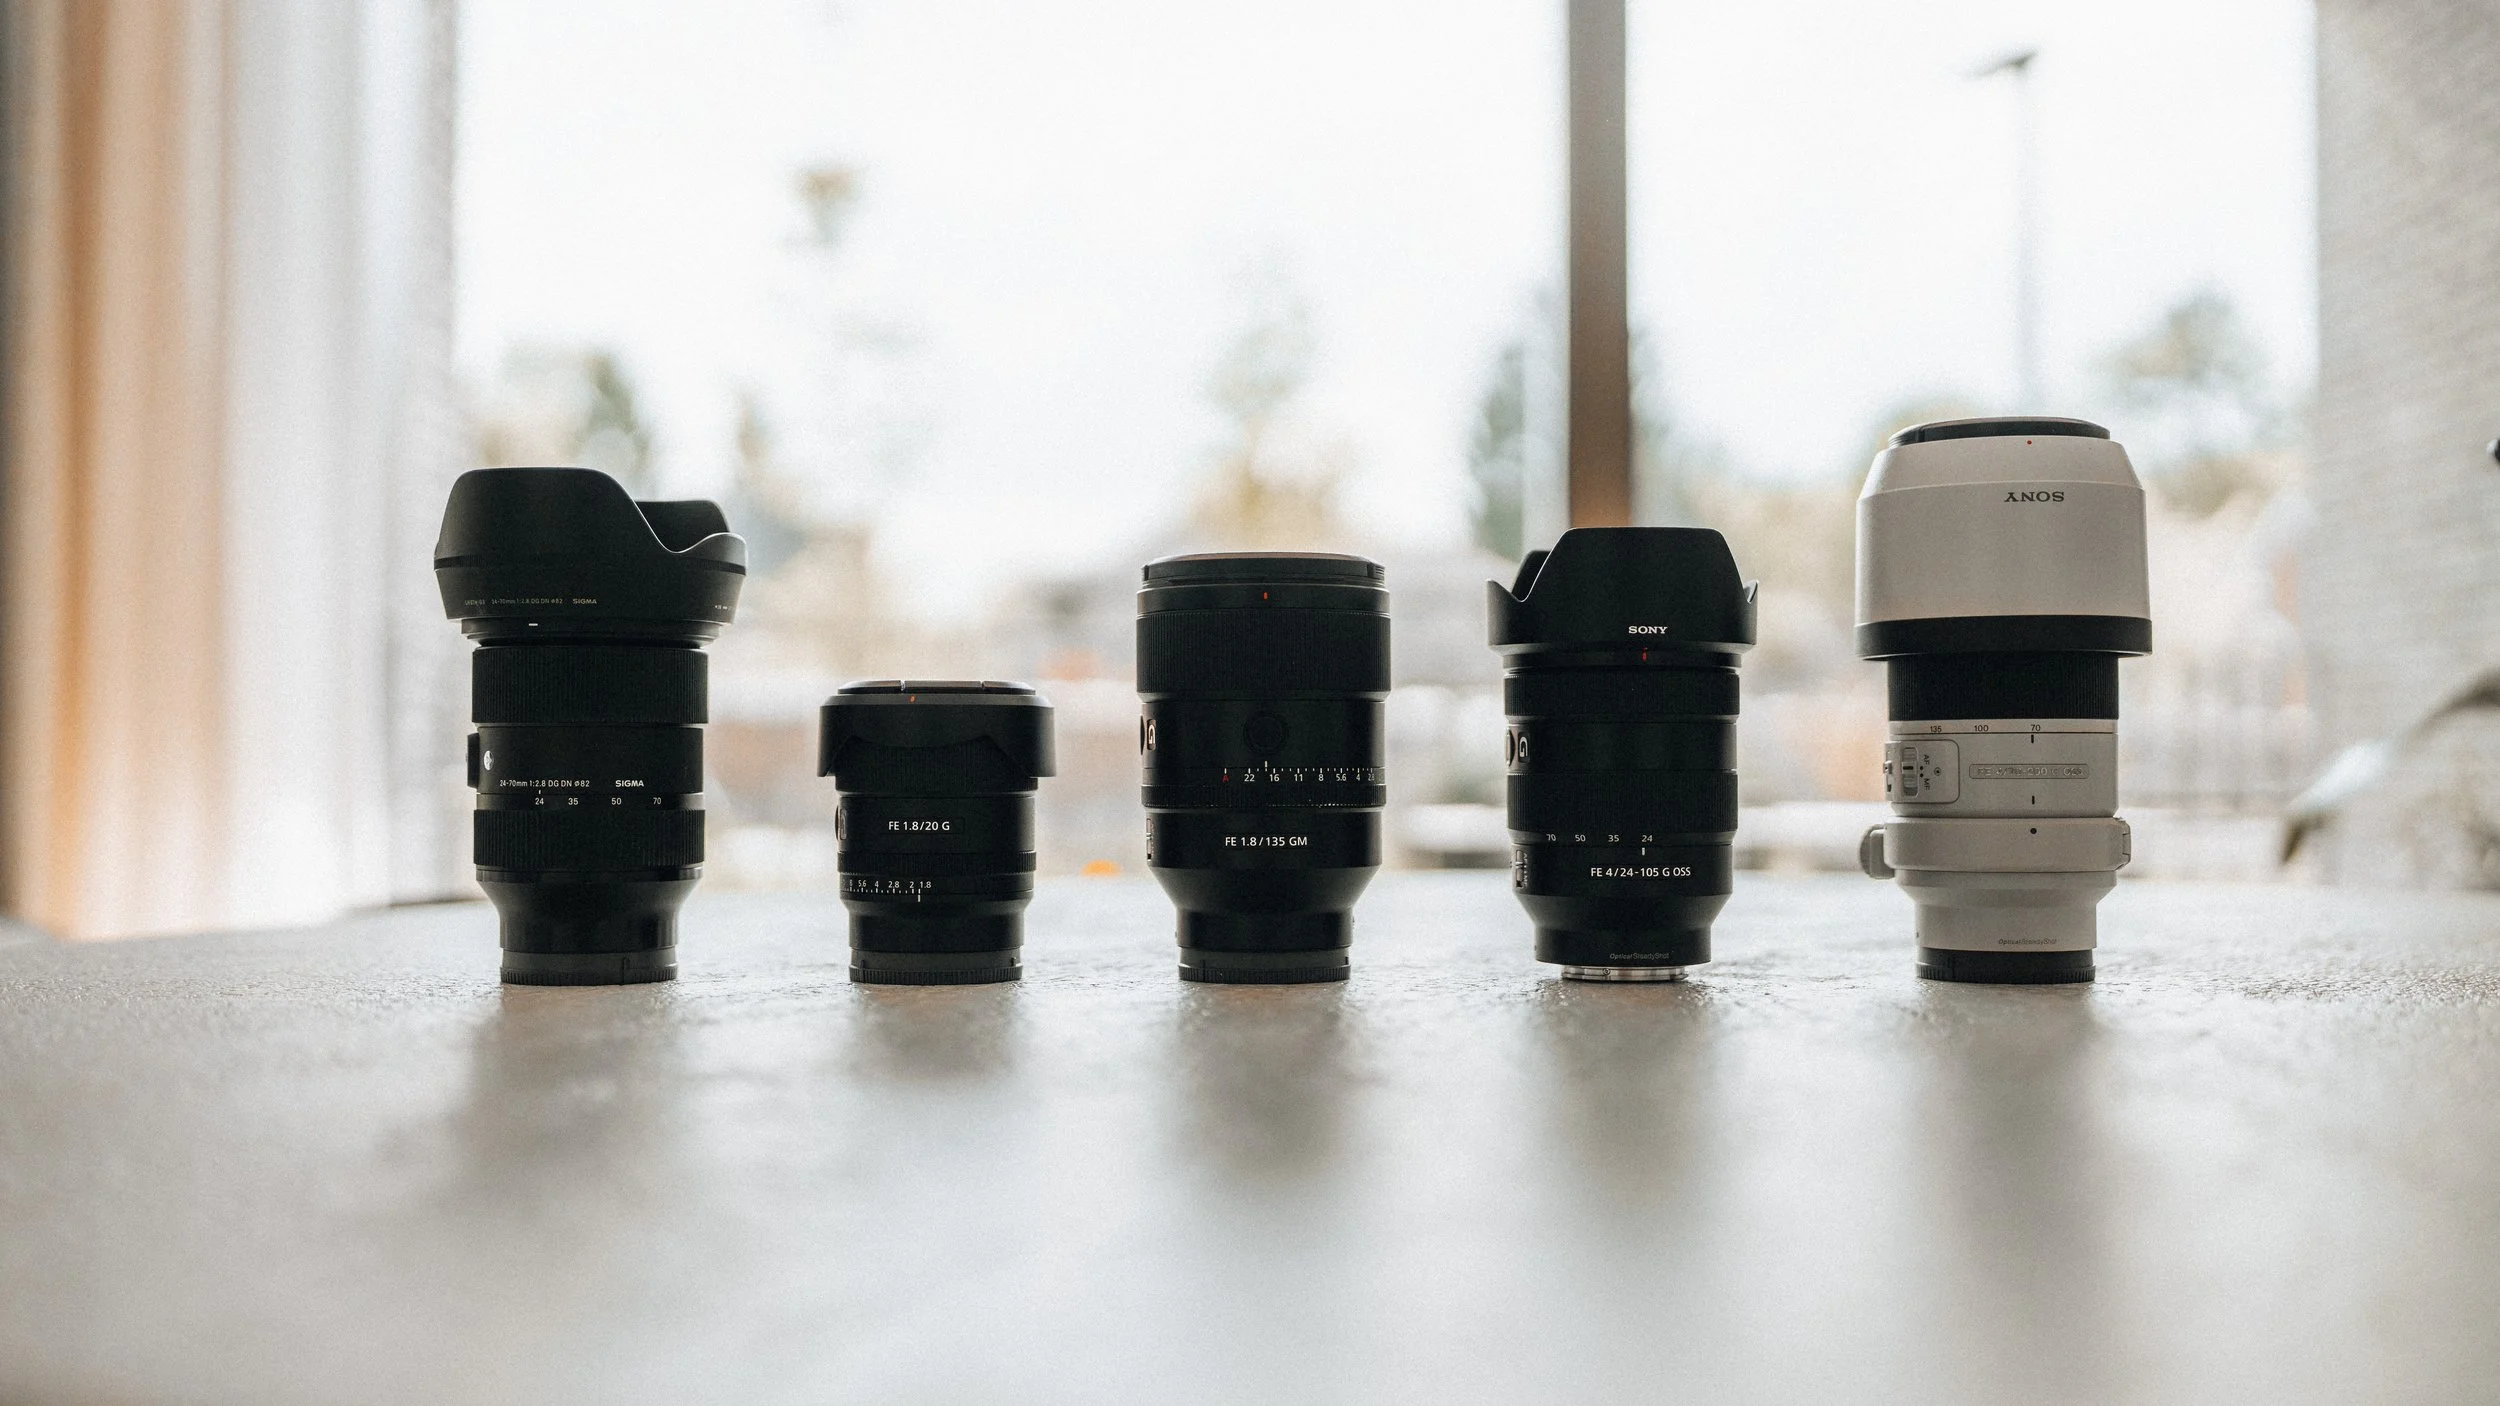
Would you believe me if I told you that this is only half of all the gear?
One Body, One Lens
When it comes to travel photography, I’ve learned that less is more. My kit revolves around one trusty body, the Sony A7 IV. I’ve used it for years, it’s fast, reliable, can take a proper beating and it is familiar enough that I can grab it and shoot without thinking. For paid work I might bring a second, but for travel? One is all you need.
For lenses, I used to overthink everything, as evidenced by the image above: a 24–70mm, 70–200mm and a prime or two, thinking I had to be ready for any possible shot. In practice, juggling all that gear slowed me down and made me miss the moments I actually wanted to capture.
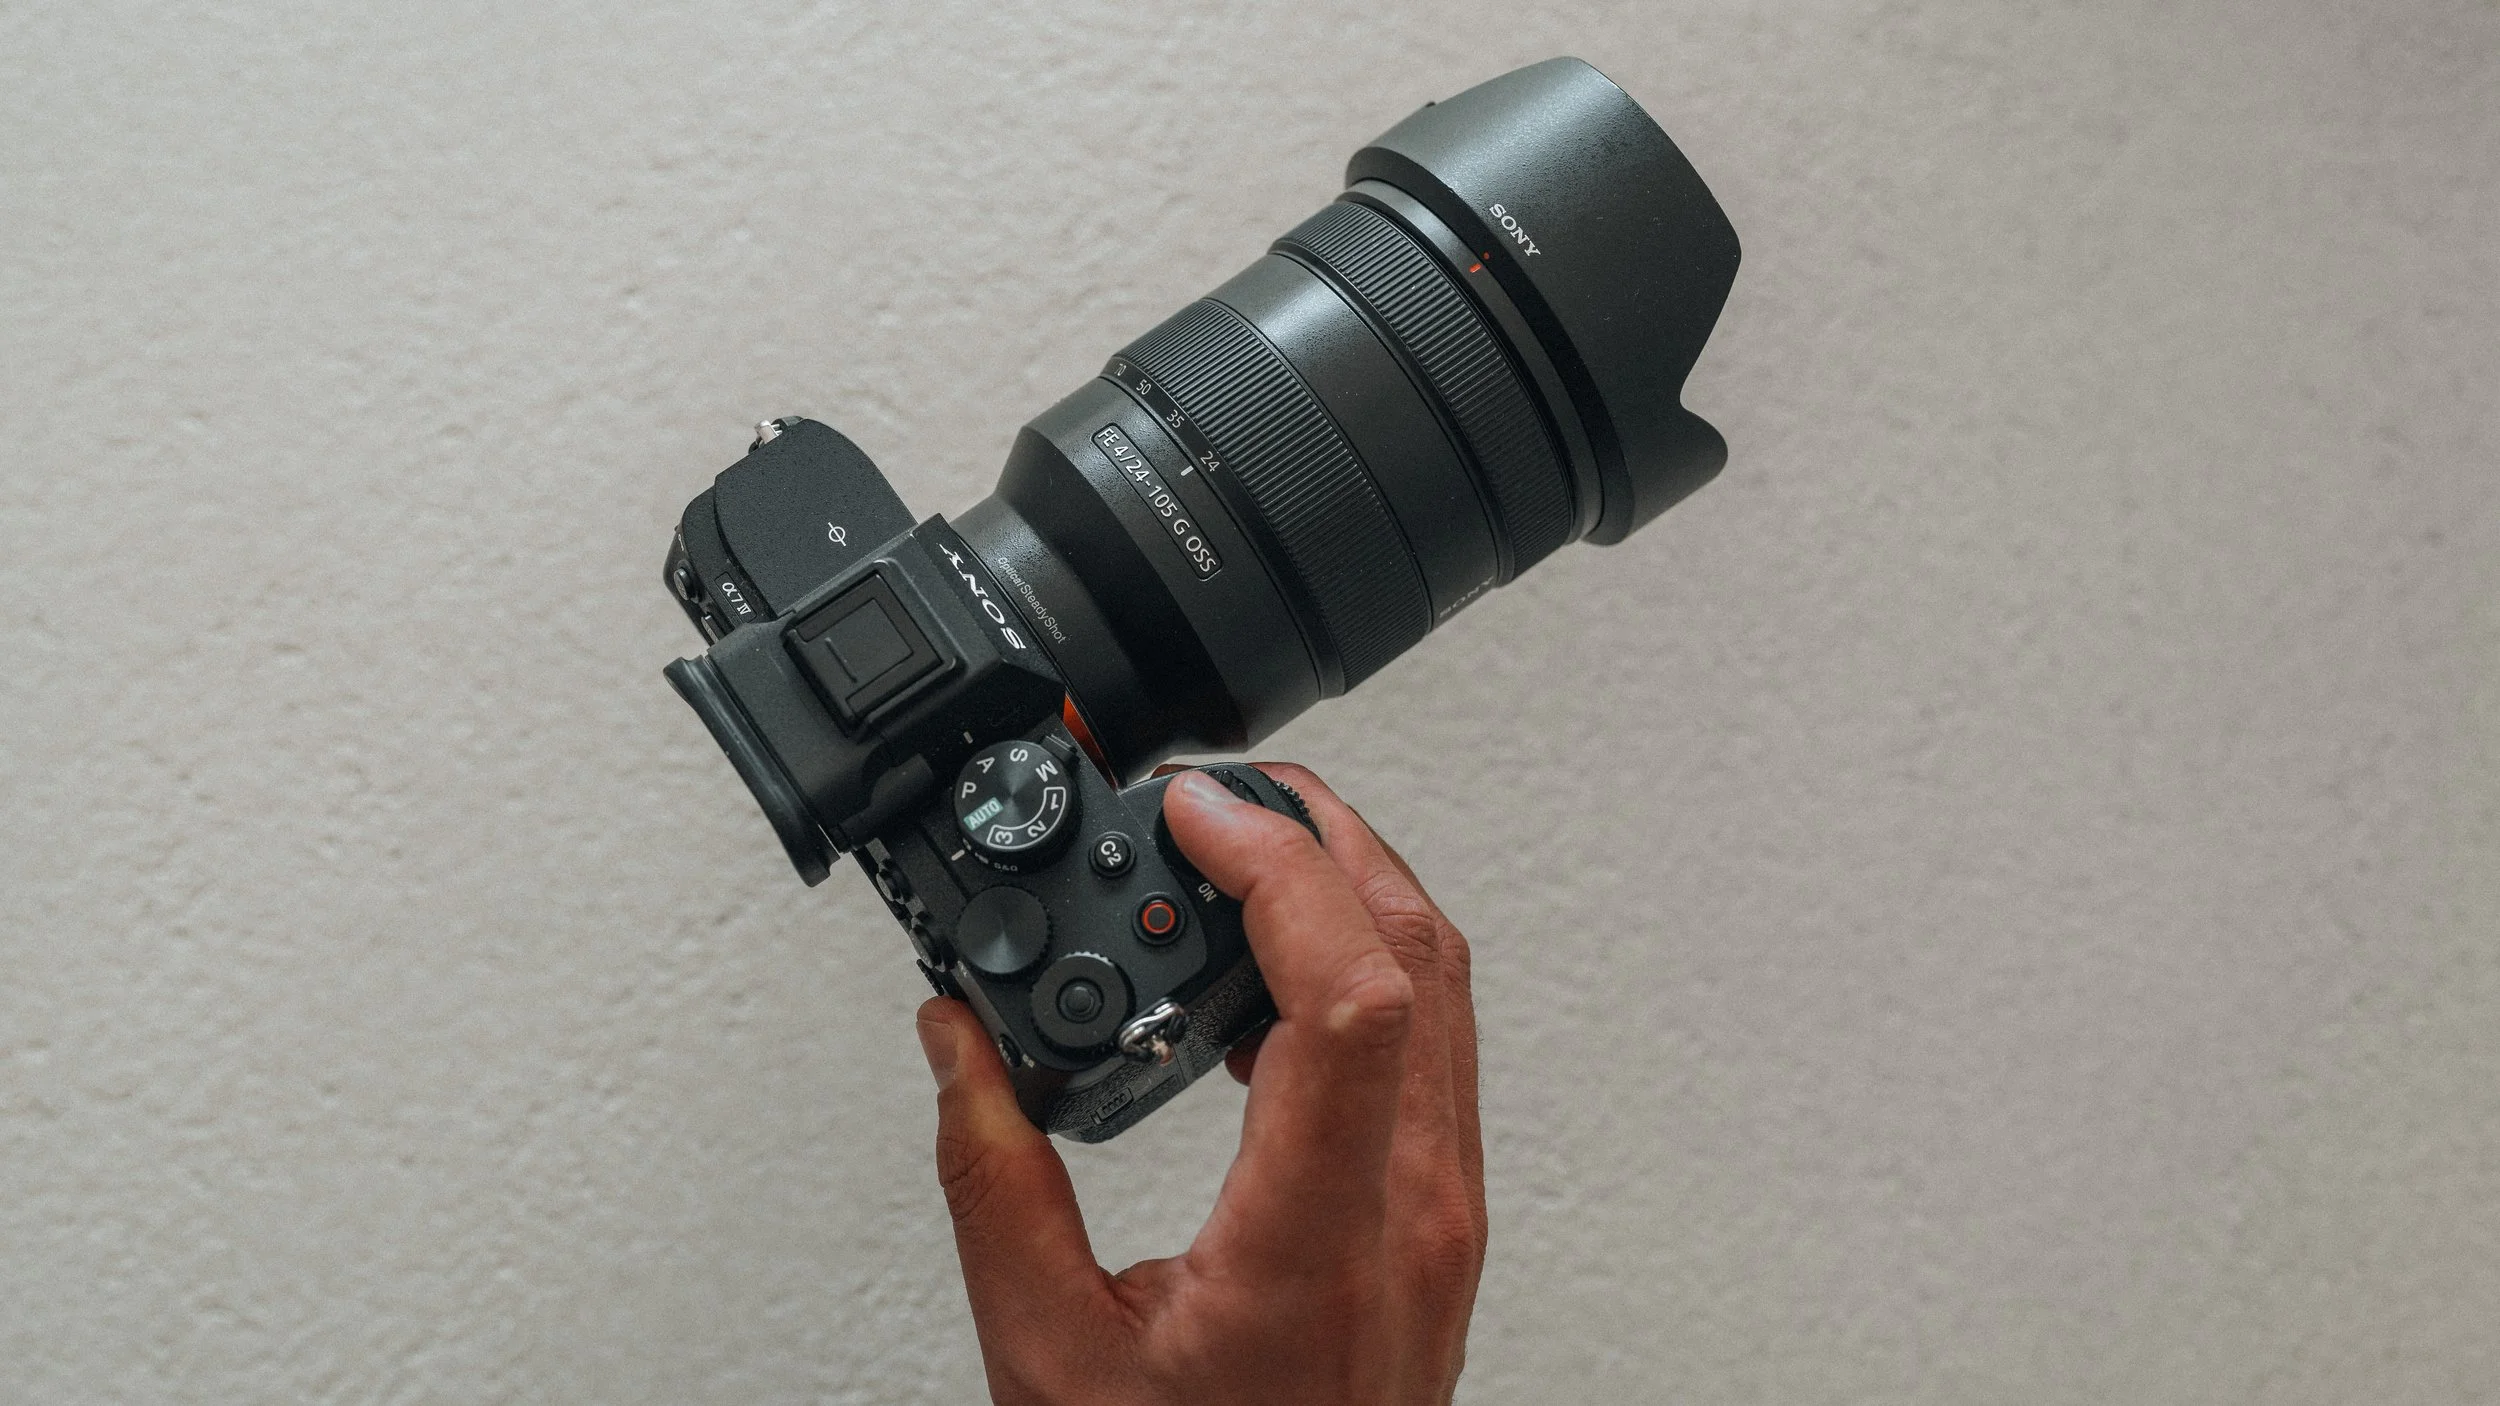
Enter the Sony FE 24–105mm f/4, last year’s purchase and current game-changer. Rugged enough to shrug off a few bumps, versatile enough to cover nearly every shot I care about, and at f/4, plenty bright for travel photography. Sure, it won’t win any awards for glamour or maximum aperture, but who cares? I’d rather have a lens that lets me shoot freely and quickly than waste mental energy stressing about an extra stop of light. Most of the time, I’m stopped down to f/6.3 or f/8 anyway, and if the light drops, the A7 IV’s sensor quietly does the heavy lifting while I keep moving. And for the bokeh-hunters out there: don't sleep on f/4. When you’re zoomed in at 105mm, you still get that lovely background separation for portraits. Besides, travel photography is about the environment. You actually want to see the places you’ve traveled to, not just blur them into a colourful soup of oblivion.
Of course I love primes. They’re sharp, elegant, make you look like you know what you’re doing… and completely useless on a long trip. They stay home. Perfect for a quick walk around town or a wedding, sure, but I’d rather have one trusty zoom on the camera and actually catch the shots I care about than swap lenses mid-chase and, once again, drop that 2k lens and having to hold back the tears (yes, it has happened).
So the rule is simple: one body, one versatile lens, zero regrets. Less weight, faster reactions, and more time enjoying the trip, which, let’s be honest, is what makes travel photography fun.
Accessories That Actually Matter
Extra batteries are non-negotiable. On a day-long hike or full shooting day, you will run out of power. Not might, will. Batteries weigh next to nothing and can save an entire day of shooting. I always bring more than I think I’ll need.
Memory cards follow a similar rule. I usually bring 2 128GB cards. I’ll probably never fill all of them, but cards can fail, corrupt, or simply refuse to cooperate at the worst possible moment. Having spares lets you shoot without worry, a freedom worth carrying a few extra grams.
Filters are small but mighty. I stick to a 10-stop variable ND and a polariser. The polariser isn’t always needed, but when reflections, skies, or water demand it, nothing else works. NDs? Indispensable if you want creamy long exposures in blazing sunlight without frying your exposure.
Finally, the cleaning kit: simple but essential. A couple of microfibre cloths and a lens blower won’t weigh down your bag, but they’ll save your lenses from dust, sand, fingerprints, and whatever else the travel gods throw at you. Nothing worse than having a lens worth thousands and seeing the photo ruined by a smudgy fingerprint.
Drone & Action Camera Gear: When to Fly, When to Chill
I’m picky about bringing drones. On city trips, they stay home. Narrow streets, no-fly zones, and the constant fear of accidentally turning your toy into a 16th-century building ornament? Hard pass. To keep myself honest (and out of a foreign jail, certainly when it comes to the USA and their pesky drone regulations), I always double-check the DJI Fly app or Air Control before I even think about unpacking. It’s better to know a zone is restricted while you’re still at your accommodation than to have a very awkward conversation with local law enforcement while your drone is hovering over a no-fly monument.
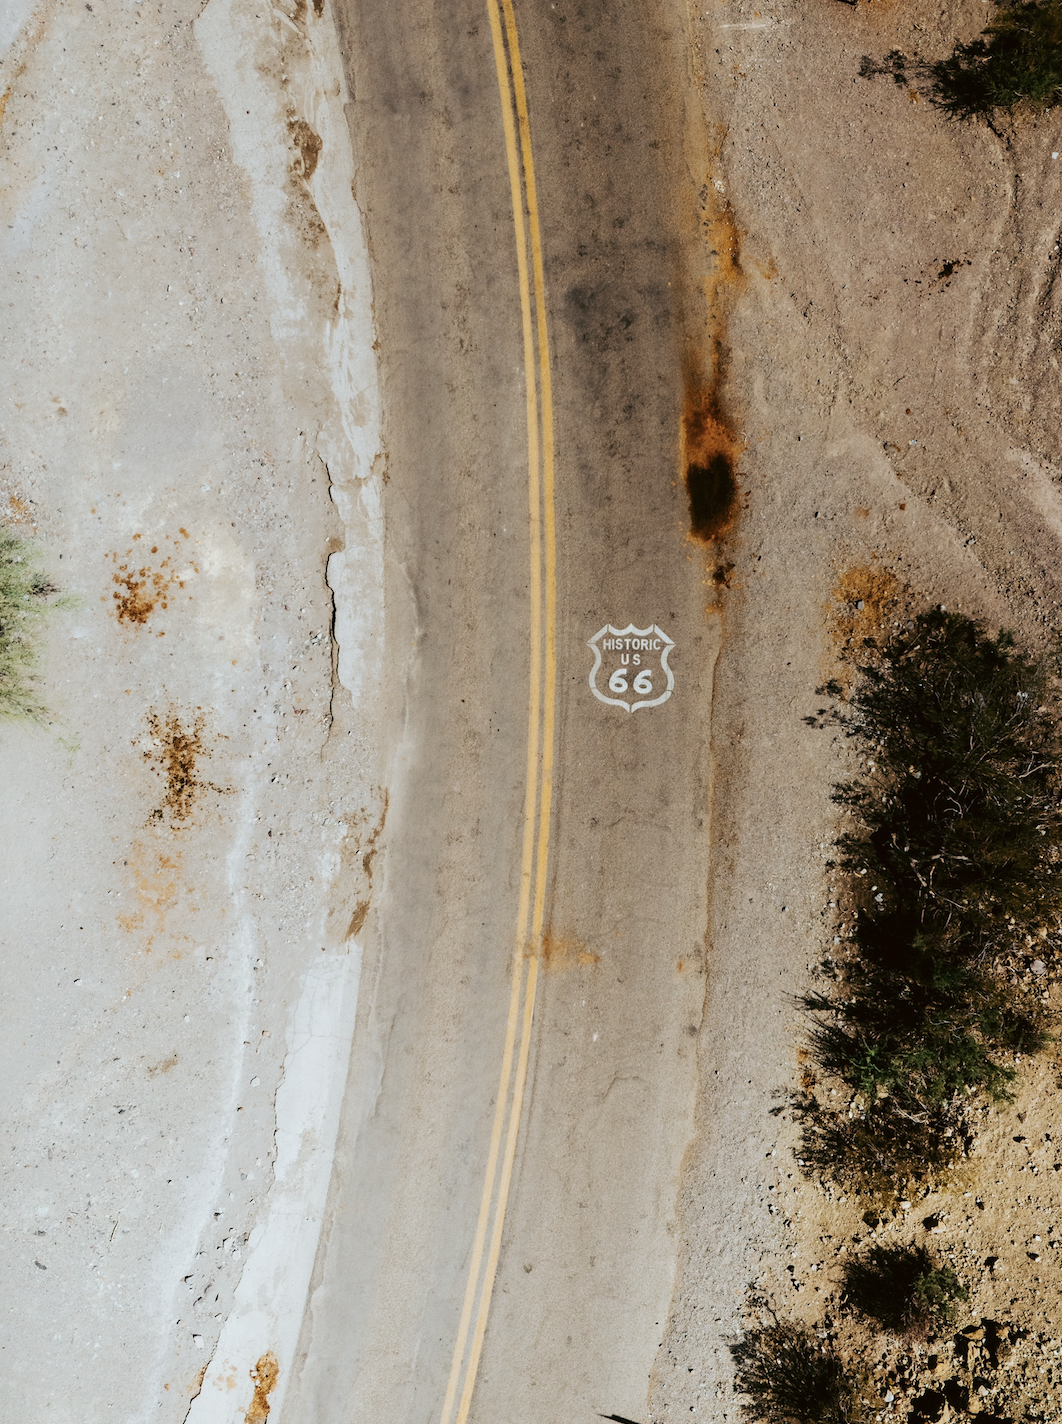
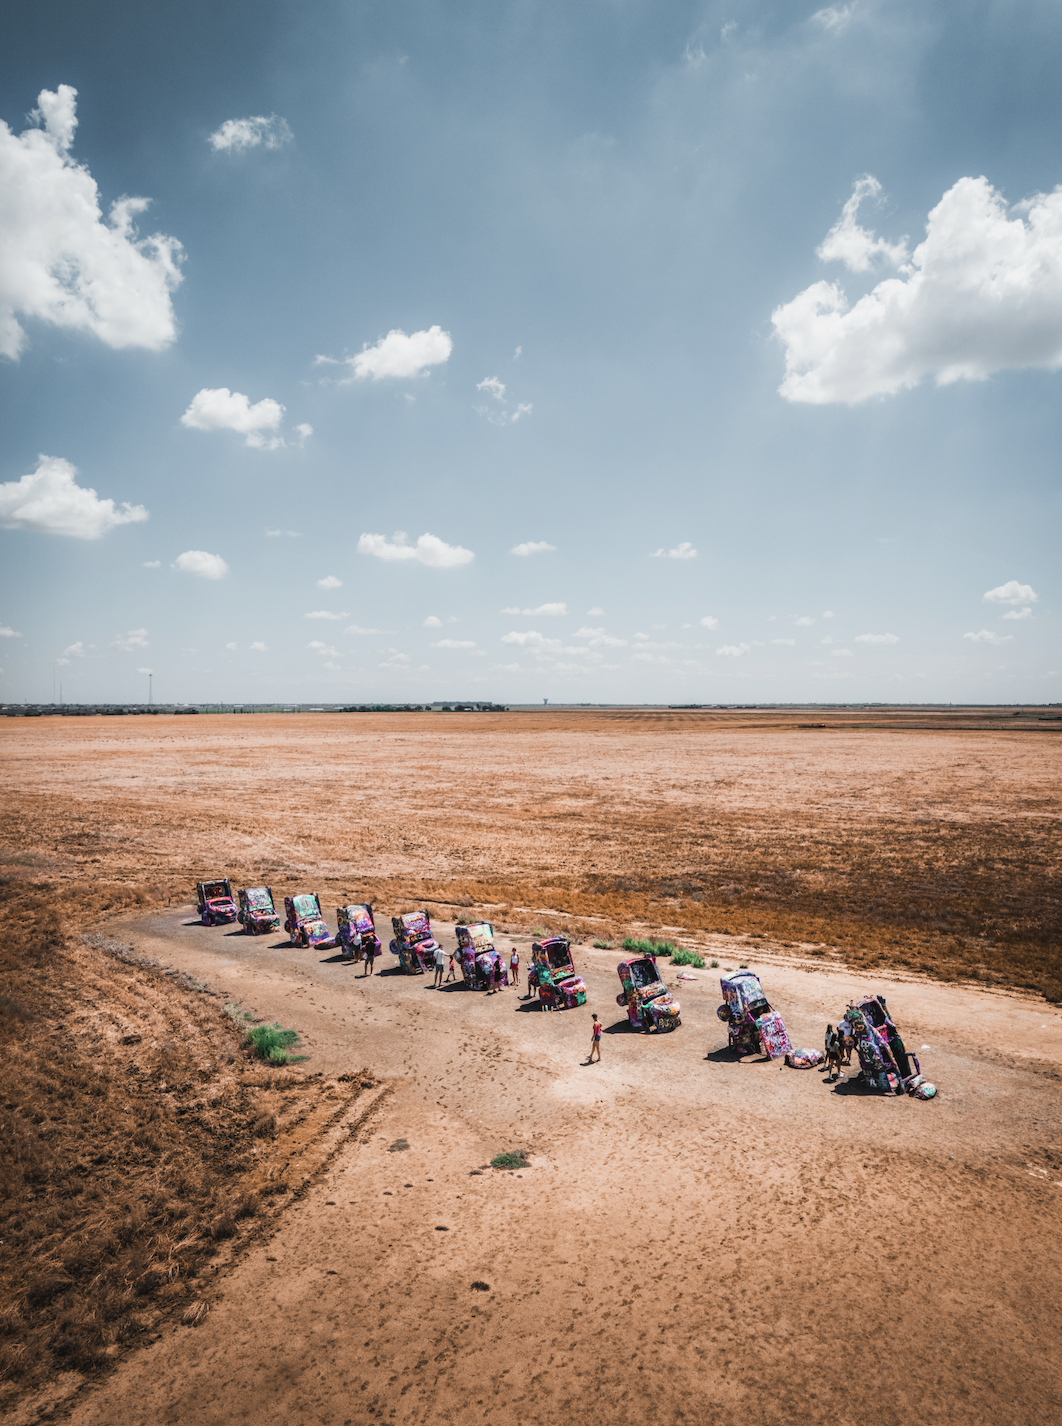
On longer trips, think multi-week road trips like my Route 66 trip from last year, or big wilderness adventures, and even my ski trips, a drone becomes basically essential. Empty highways, sweeping landscapes, deserts, mountains, rivers… that’s where a drone really earns its keep. Some shots you just can’t get from the ground, and that’s when your creativity can shine with some drone work.

Just remember: Drones eat batteries for breakfast. They run out of juice within 30-40 mins and since they can be a bit of a faff in launching and flying, they’ll die halfway through the fun, and you’ll watch helplessly as your drone hovers while the light fades.
For POV and behind-the-scenes footage, my DJI Osmo Action 4 comes everywhere with me. Rugged, reliable, ND-ready, and small enough to shove in a pocket, it’s perfect for skiing, hiking, or any adventure where dragging around a big camera would just be ridiculous.
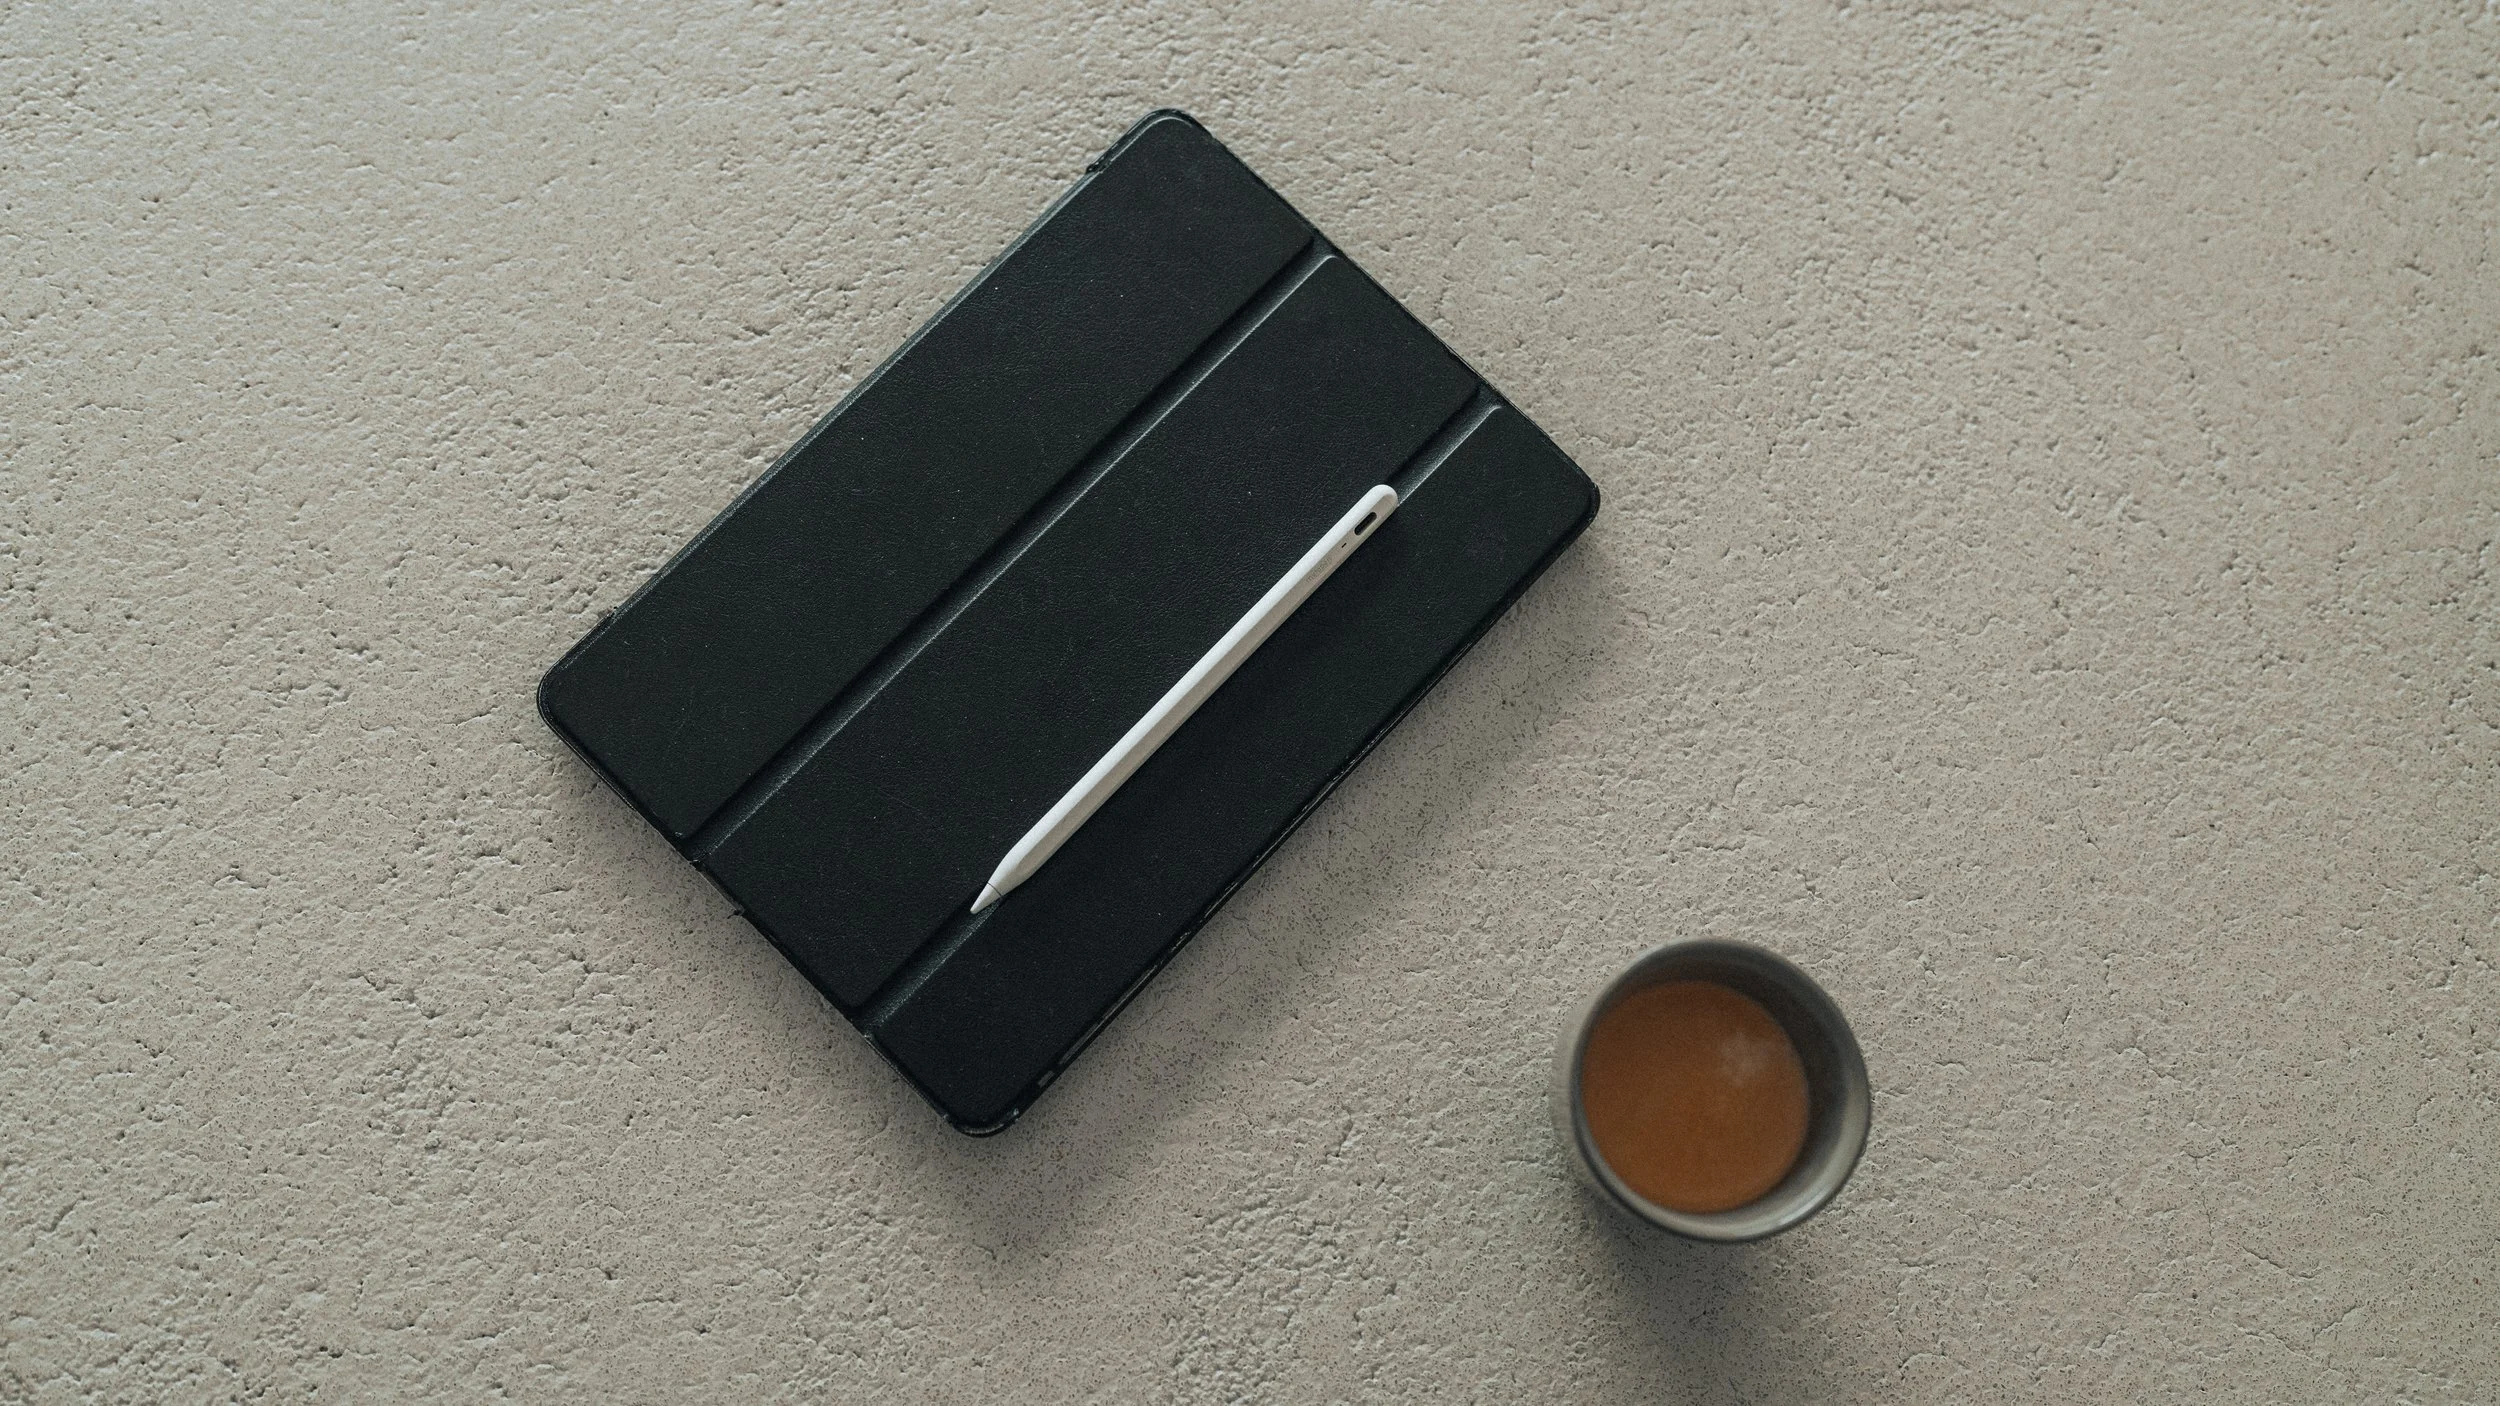
Editing on the Road
All my travel editing happens on my old 9th-generation iPad. Lightweight, unobtrusive, and surprisingly capable, it’s perfect for quick, on-the-fly edits, without feeling like I’m hauling around a brick. If you’re wondering how I get high-res RAW files onto an older tablet, it’s low-tech and brilliant: a simple Lightning-to-SD card dongle (you can get them for 5 euros on Amazon). It’s tiny, requires no battery, and imports photos into Lightroom Mobile faster than any 'wireless' transfer that inevitably fails the moment you lose Wi-Fi. I also avoid heavy laptops whenever possible, not just because they weigh a ton, but also because they’re way more tempting to thieves than an old, slightly battered iPad.
The goal isn’t perfection. I’m not trying to make every shot magazine-ready, I just want to stay on top of my work, do rough edits, and avoid coming home to a mountain of RAW files. The iPad lets me do all that while still leaving enough brainpower to actually enjoy the trip.
For a deeper dive into my editing workflow, check out How I Edit My Photos – From RAW to Ready.
From Shoot to Stroll: The Bags I Travel With
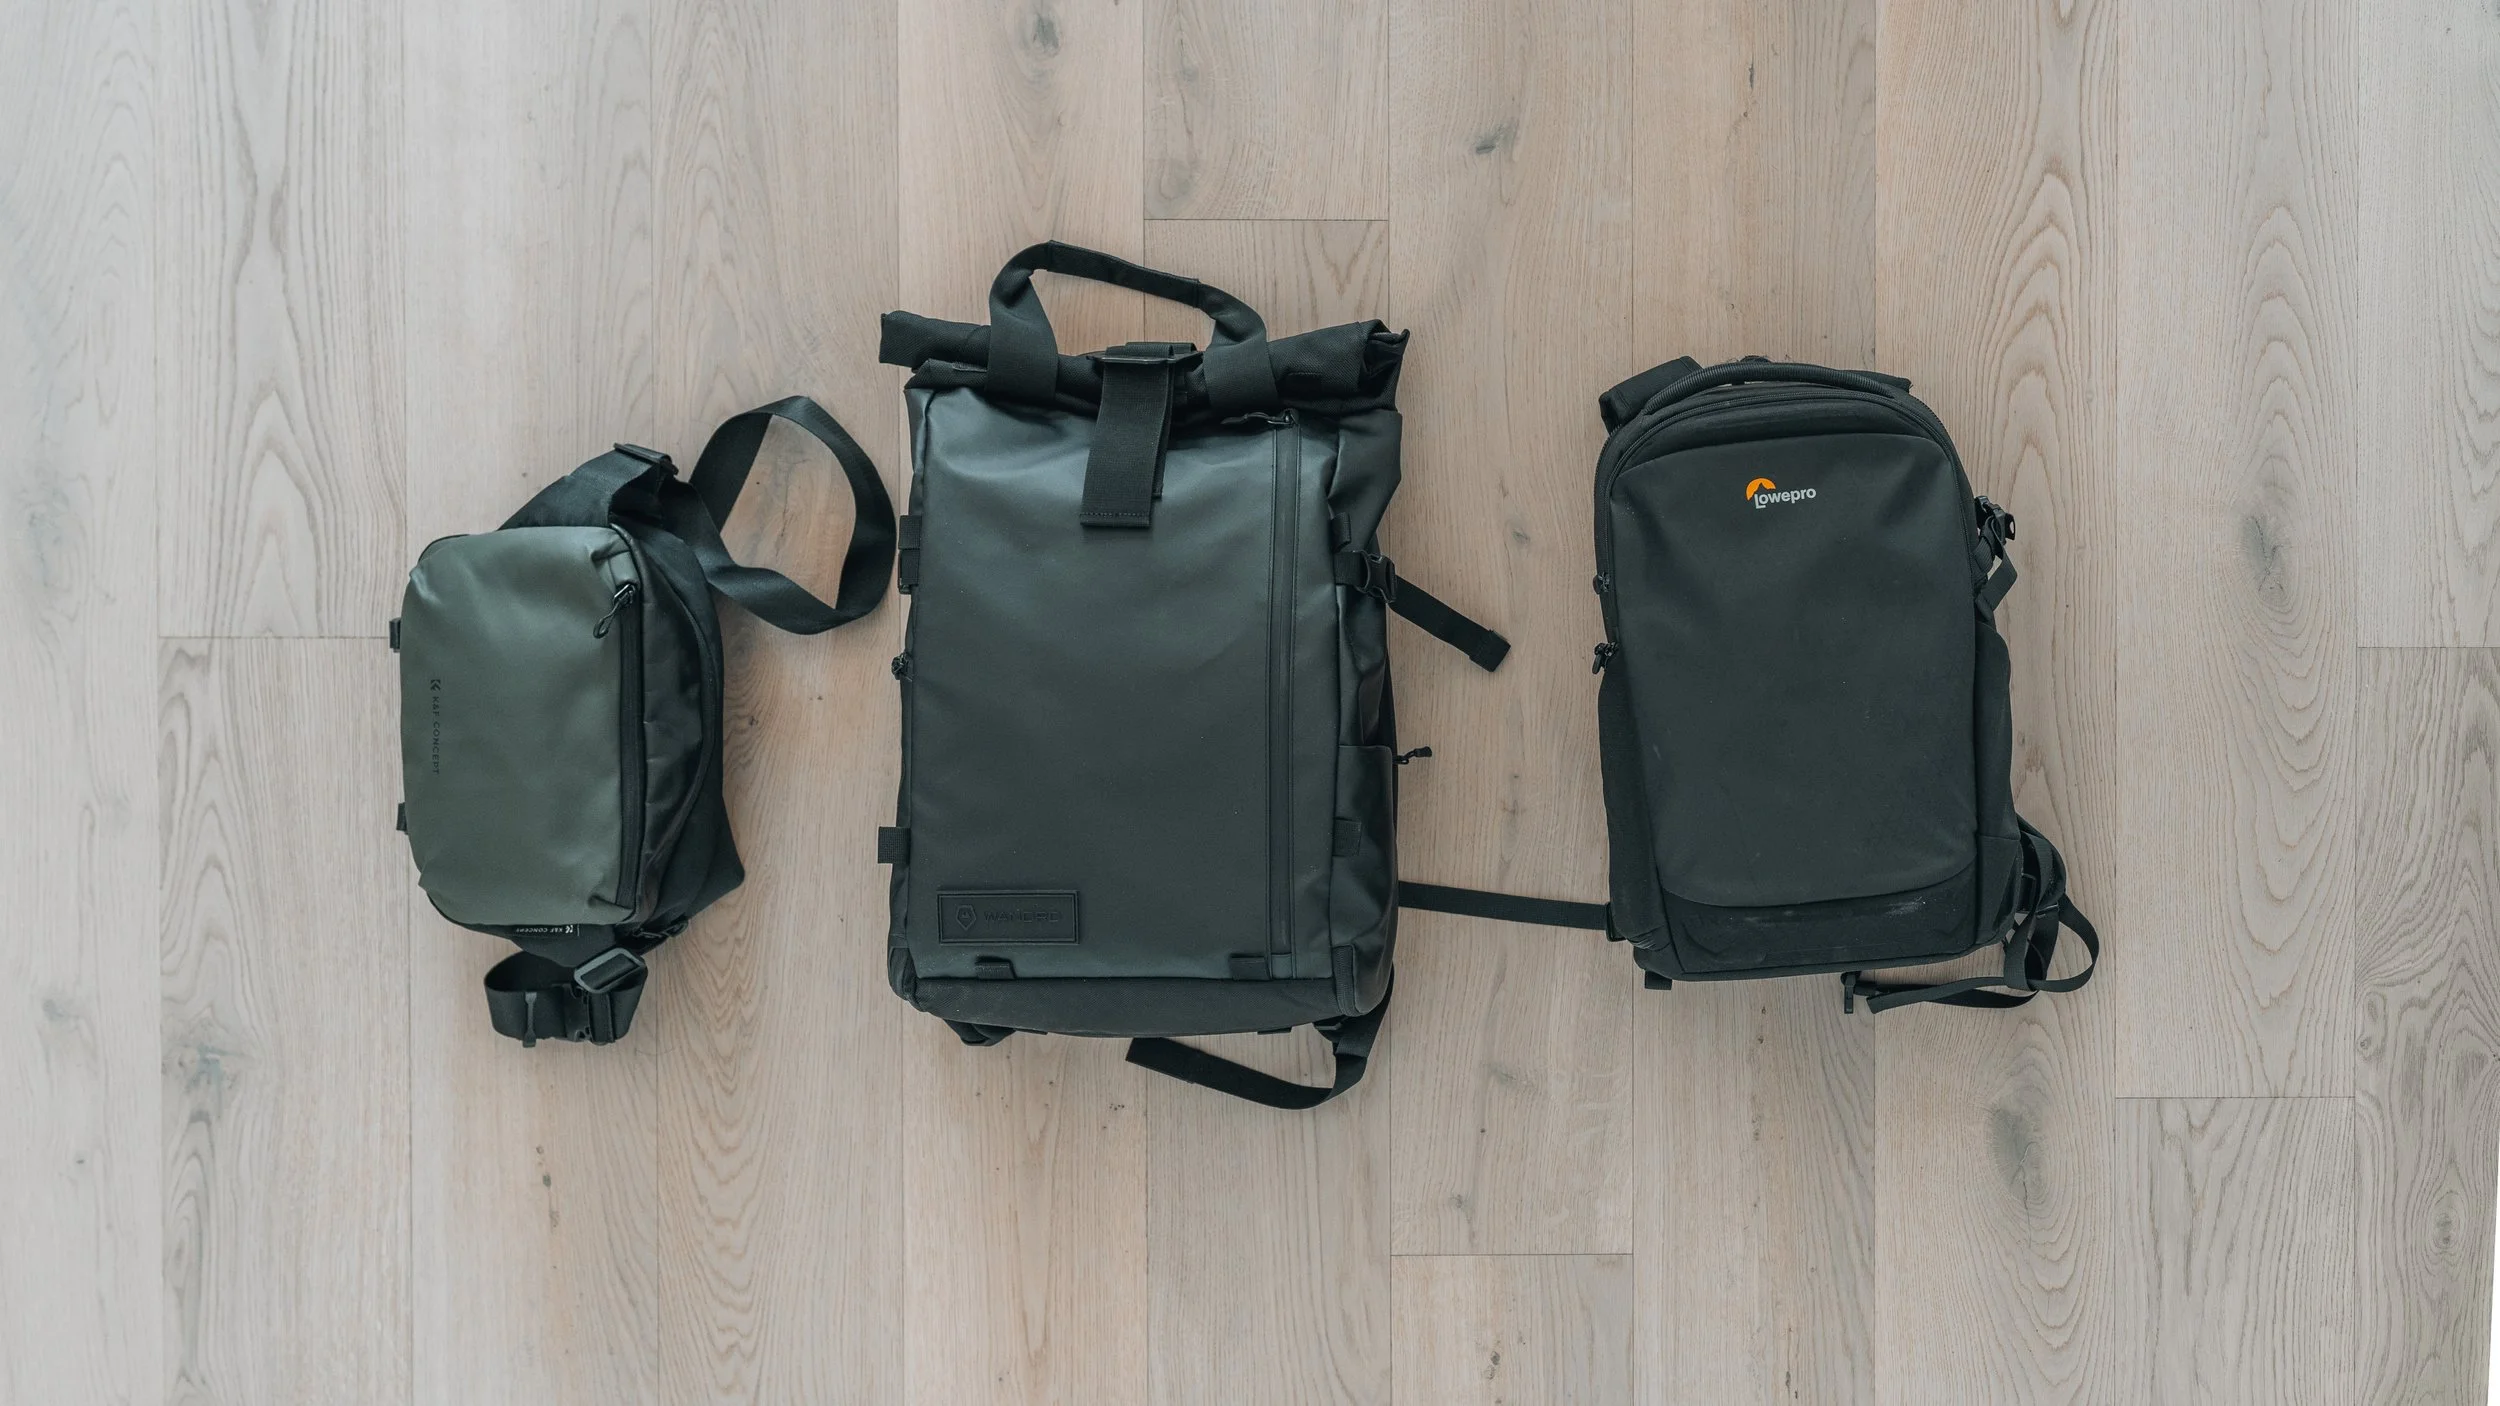
For professional shoots, I use the LowePro Flipside BP 300 AW III. It’s reliable, well-padded, and makes it easy to carry my gear without feeling like I’m lugging a ton of bricks. For holidays and longer trips, the Wandrd Prvke 21 comfortably carries all my gear while also functioning as a regular travel backpack. It’s practical, sturdy, easy to take anywhere and slides right under an airplane seat.
For daily outings, I switch to a K&F Concept sling bag. Compact but capable, it can hold a camera and two lenses, or a camera, one lens, and the drone. Light, practical, and unobtrusive, just what I need when I’m exploring without being weighed down.
There’s always a balance between comfort, access, and protection, but comfort wins in the long run. If your bag irritates your shoulders or makes you hesitant to walk that extra kilometer, you’ll end up shooting less. Keep your bag manageable, and your photography will benefit.
What I Don’t Pack Anymore (and Why)
I no longer bring everything I own “just in case.” Experience has shown me that if a piece of gear didn’t get used on previous trips, it probably won’t get used on the next one either. Carrying too much kills spontaneity and quickly turns photography into a chore.
Minimalism isn’t about restriction, it’s about freedom. Freedom to move, react quickly, and actually enjoy the places you’re visiting, instead of feeling weighed down by a backpack full of things you don’t need.
Final Thoughts: Travel Light, Shoot Freely
This isn’t a packing list to copy word for word. Think of it more as a framework. Adapt it to your destinations, your style, and the way you like to work. Keep what genuinely serves you, and leave the rest behind.
Travel light. Move freely. Stay present. The best photos usually happen when you’re not wrestling with your backpack. And let’s be honest, enjoying the trip makes the shots that much better.